Wellness
B12 injections at CoLaz clinics
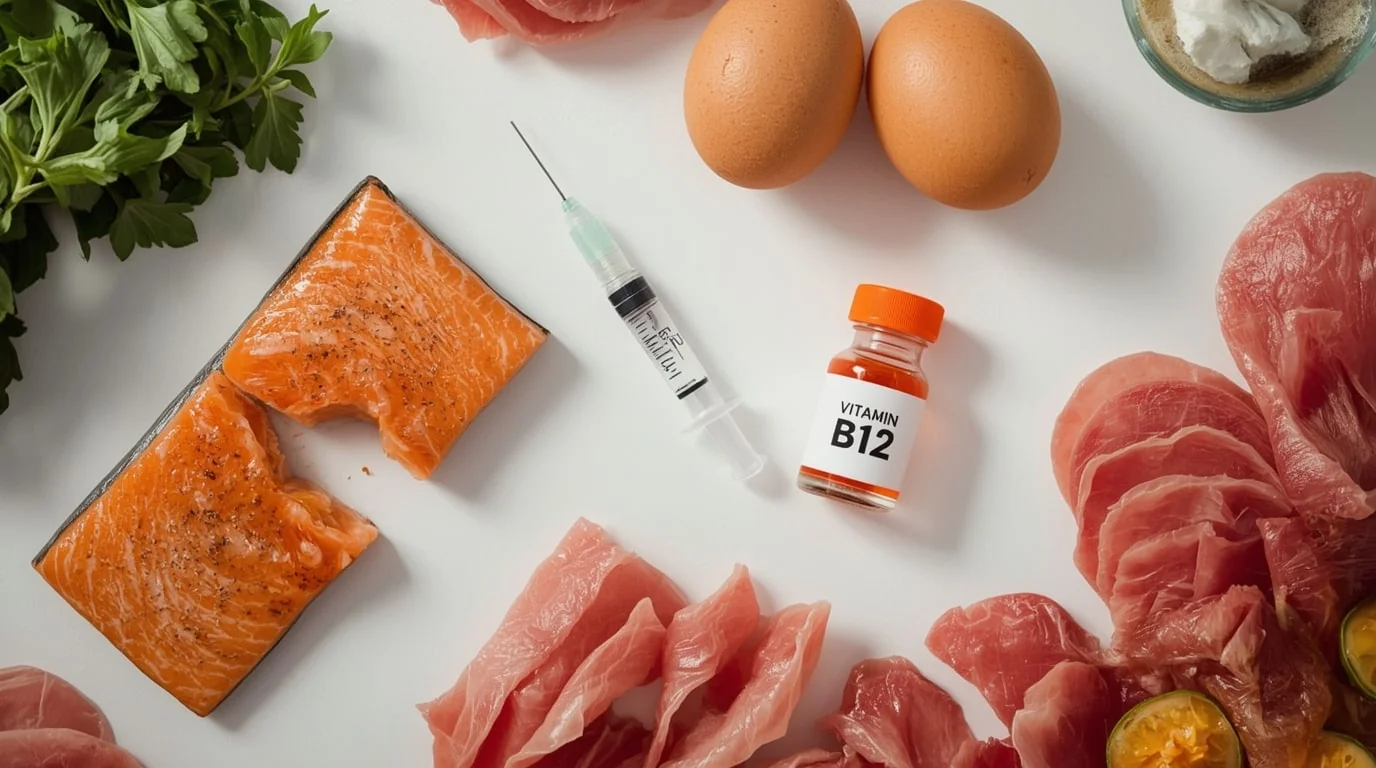
B12 injections at CoLaz deliver a measured dose of vitamin B12, in the form of cyanocobalamin, straight into the muscle for fast, reliable absorption. From £50 for a single injection, with a course of two at £90, across our UK clinics, always given by a qualified nurse or doctor after a free consultation, particularly useful for vegetarians, vegans and anyone with absorption issues.
From
£50 per session
single injection.
- Session time
- ~15 min
- Downtime
- Minimal
- Consultation
- Free
- Locations
- 7 UK clinics
Reply typically within 5 minutes
Or book by email form →Good for
Who books this treatment.
- Low energy, tiredness and brain fog that has not responded to lifestyle changes
- Vegetarians and vegans who do not get B12 from animal foods
- Patients with absorption issues such as IBS, coeliac disease or pernicious anaemia, with appropriate GP oversight
- Anyone on long-term metformin or proton-pump inhibitors that lower B12 absorption
- Older adults whose stomach acid has dropped with age
- Patients looking for mood, focus and recovery support alongside a balanced diet
Aftercare
For the first forty-eight hours.
- Keep the injection site clean and dry for the first six hours
- Mild soreness at the site is normal and settles within a day or two
- Avoid intense upper-body exercise on the treated arm for the rest of the day
- Drink water through the day to help the body distribute the vitamin
- Report any unusual redness, swelling or warmth at the site to the clinic the same day
What to expect
From your first consultation onwards.
-
01
Free consultation with a qualified nurse or doctor to review medical history, diet and any GP-confirmed B12 deficiency
-
02
Brief health check including a blood pressure reading before the first injection
-
03
Skin cleansed with an antiseptic wipe at the injection site, usually the upper outer arm
-
04
Intramuscular injection given with a fine needle, taking around ten seconds
-
05
Aftercare confirmed in writing before you leave, with the next session booked if a course is agreed
B12 injections are one of the simplest and most reliable wellness treatments because the science is clear, the dose is measured, and the absorption is predictable. At CoLaz every B12 injection is given by a qualified nurse or doctor, after a free consultation, priced from £50 per single shot across our UK clinics.
How a B12 injection works
Vitamin B12, also called cyanocobalamin, is essential for red blood cell production, nerve function, energy metabolism and the synthesis of DNA. The body cannot make it; it has to come from food, supplements or injection. Dietary B12 sits in animal foods such as meat, fish, eggs and dairy, which is why vegetarians and vegans need a reliable supplemental route.
Even with B12 in the diet, absorption depends on stomach acid and a protein called intrinsic factor, both of which decline with age and with certain medications. Long-term metformin and proton-pump inhibitors lower B12 absorption. Coeliac disease, significant IBS and pernicious anaemia disrupt it further. The result is that a person can eat plenty of B12-rich food and still run low on circulating levels.
An intramuscular injection bypasses the whole absorption route. The dose lands in muscle tissue and is taken up into the bloodstream over the following hours. Circulating B12 levels rise quickly, the body restocks its tissue stores, and the energy, mood and focus benefits follow within days for most patients.
Who benefits most from B12
Vegetarians and vegans are the most common group, simply because plant foods do not contain meaningful amounts of B12 and fortified foods alone often do not keep up with demand. Anyone on a plant-based diet who has not yet checked their B12 status is a candidate for either a supplement or an injection.
Older adults are the second-largest group. Stomach acid drops with age, intrinsic factor production drops with it, and dietary B12 absorption follows. Many patients in their sixties and seventies are subtly low without knowing it.
Patients with gut conditions, including coeliac, Crohn's and significant IBS, are the third group. So are patients on long-term metformin for type 2 diabetes and patients on long-term proton-pump inhibitors for reflux. In each case the underlying absorption is disrupted, and an injection sidesteps the problem.
Patients with a clinically diagnosed B12 deficiency such as pernicious anaemia should be under GP care for ongoing management. We will ask about this at consultation and coordinate with your GP where appropriate.

What a CoLaz B12 appointment looks like
The free consultation comes first. A qualified nurse or doctor reviews your medical history, your diet, any current medication and any GP-confirmed B12 deficiency. The consultation fee is £50, redeemable against any injection you book.
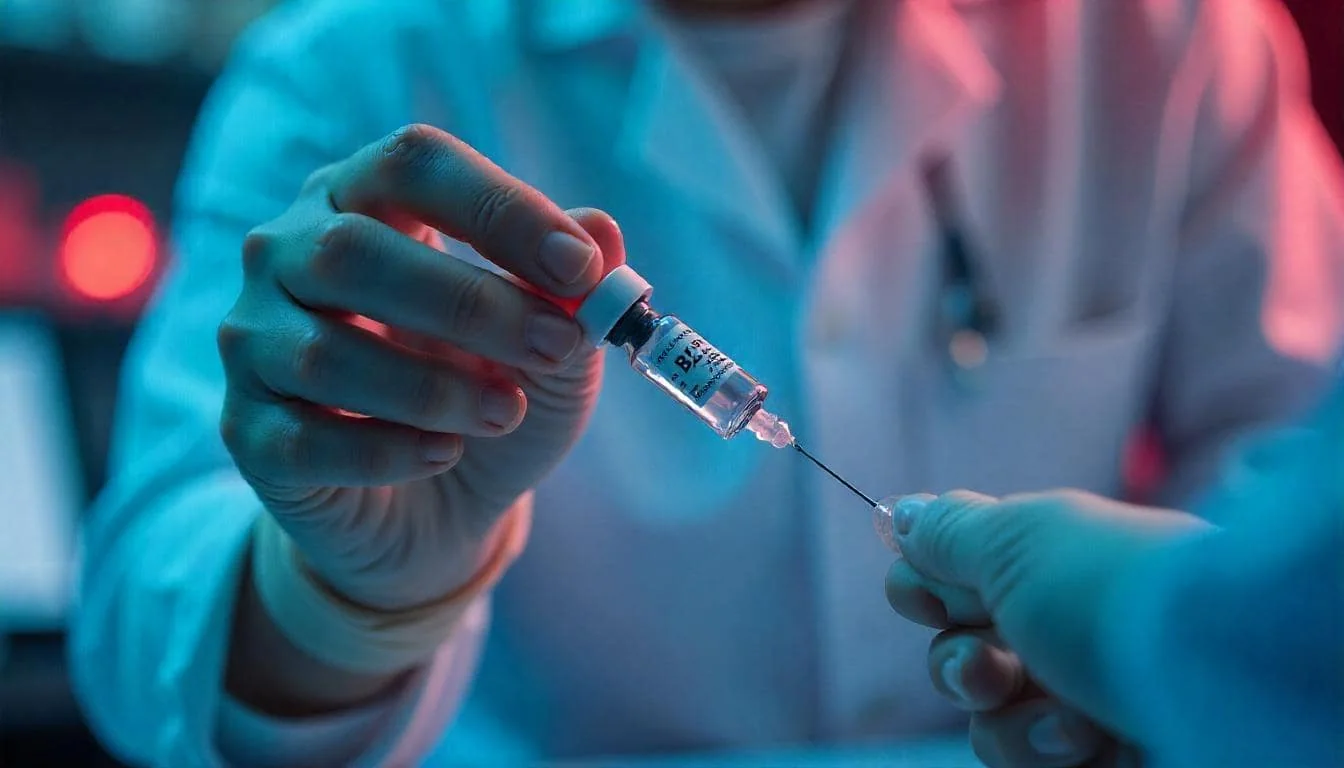
On the day, allow about fifteen minutes. We run a brief health check before the first injection, including a blood pressure reading. The skin is cleaned with an antiseptic wipe at the injection site, usually the upper outer arm, and the intramuscular injection is given with a fine needle in around ten seconds.
Aftercare is straightforward. Keep the site clean and dry for six hours; mild soreness for a day or two is normal; avoid intense upper-body exercise on the treated arm for the rest of the day. There is no other downtime, and most patients go straight back to work, to the gym or to school pickup. We book the next session if a course has been agreed, or schedule a maintenance shot every four to twelve weeks depending on your goal.
Available across selected CoLaz clinics
B12 injections is delivered at our CoLaz Derby, Wembley, Slough, Reading, Southall and Hounslow clinics by qualified clinicians. Use the clinic finder to choose the location that suits your postcode and schedule, or send a WhatsApp message, most clinics reply within five minutes during opening hours.
Often considered alongside
Patients booking B12 injections often consider IV vitamin therapy for a broader nutrient blend, vitamin injections for vitamin D, biotin or vitamin C boosts, mesotherapy for targeted skin micronutrient delivery, and a PRP face treatment for patients combining wellness with skin rejuvenation.
Common questions
What patients ask first.
What are B12 injections and how do they work? +
A B12 injection delivers a measured dose of vitamin B12, in the form of cyanocobalamin, directly into the muscle, usually the upper outer arm. Vitamin B12 is essential for red blood cell production, nerve function, energy metabolism and the synthesis of DNA. When given by intramuscular injection, the dose bypasses the digestive tract and is absorbed reliably, which matters because dietary B12 absorption depends on stomach acid and a protein called intrinsic factor, both of which decline with age, medication and certain gut conditions. The injection itself takes around ten seconds and the full appointment is under fifteen minutes.
Who benefits most from B12 injections? +
B12 injections suit vegetarians and vegans who do not eat animal foods, patients with confirmed absorption issues such as pernicious anaemia, coeliac disease or significant IBS, older adults whose stomach acid has dropped with age, and patients on long-term metformin or proton-pump inhibitors that lower B12 absorption. They also suit anyone whose energy, mood or focus has dipped without an obvious cause and who wants a reliable top-up alongside a balanced diet. Patients with a clinically diagnosed B12 deficiency should be under GP care for ongoing management; we will ask about this at consultation and coordinate with your GP where appropriate.
How quickly will I feel the effects of a B12 injection? +
Most patients notice a lift in energy and mental clarity within two to seven days of the first injection, though the response is more pronounced in patients who were running low to begin with. Some patients feel a difference within twenty-four hours. The effect of a single shot typically lasts four to eight weeks, depending on diet, lifestyle and how depleted you were at the start. For ongoing support a maintenance schedule of one injection every four to twelve weeks is common, agreed at your free consultation.
Does the B12 injection hurt? +
The needle used is short and fine, and most patients describe the sensation as a quick pinch or a sharp pressure that lasts about a second. The injection itself takes around ten seconds. Mild soreness at the site for a day or two afterwards is normal and feels similar to the morning after a tetanus or flu jab. There is no recovery pain otherwise, and most patients go straight back to work or to the gym the same day, avoiding only intense upper-body exercise on the treated arm for a few hours.
How many B12 injections will I need? +
A single injection at £50 gives a useful boost lasting four to eight weeks. A course of two at £90 spaced two to four weeks apart is a common starter for patients with a more depleted baseline, working out to £45 per session. From there, maintenance is typically one injection every four to twelve weeks depending on diet, absorption and how the response holds. The plan is agreed at your free consultation, with the cadence confirmed in writing before any course is booked.
Are B12 injections safe and who should not have them? +
B12 is a water-soluble vitamin, which means the body excretes any excess in the urine, so the safety profile is very forgiving. Every injection at CoLaz is given by a qualified nurse or doctor, never a non-medical therapist. We do not treat patients with a known hypersensitivity to cobalamin or cobalt, patients with a rare condition called Leber's optic atrophy, or patients who are pregnant or breastfeeding without GP sign-off. We also coordinate with your GP if you have a confirmed B12 deficiency that needs ongoing medical management. There is a £50 consultation fee, redeemable against any injection you book.
How much do B12 injections cost at CoLaz? +
A single B12 injection is £50. A course of two is £90, working out to £45 per session, and is the most common starter package. There is a £50 consultation fee with a qualified nurse or doctor, which is redeemable against any injection you book. Pricing is confirmed in writing at your free consultation, with no upsells in the treatment room.
What are the signs you might need a B12 injection? +
Common signs of low B12 include persistent tiredness or low energy, brain fog or poor concentration, pins and needles or numbness in the hands and feet, a sore or red tongue, mouth ulcers, low mood, and looking pale. These symptoms have many causes, so a blood test is the only way to confirm a deficiency. People who follow a vegan or vegetarian diet, are over fifty, take metformin or acid-reducing medication, or have a condition that affects absorption are more likely to be low. We review your history at consultation and can advise whether testing or a course is right for you.
How long does a B12 injection last? +
It varies with the type of B12 and your own levels. Hydroxocobalamin, the form most used in the UK, is released gradually, and a maintenance dose is often given every eight to twelve weeks. Many people feel an energy lift within a few days that builds over the following week or two. If you are correcting a deficiency, the first few injections are usually spaced close together to rebuild your stores, then moved to a maintenance schedule. We agree the timing with you based on how you respond and any blood results you bring.
Can B12 injections help with energy and weight loss? +
If you are genuinely low in B12, an injection can lift the fatigue, brain fog and sluggishness that deficiency causes, which many people feel as a clear energy boost. B12 is not a weight-loss treatment in itself, and it will not make you lose weight if your levels are already normal. What it can do is restore the energy and normal metabolism that low B12 takes away, which makes it easier to stay active. We are honest about what B12 can and cannot do, and we assess whether it is likely to help you at your free consultation.
Still deciding
WhatsApp your nearest clinic. Reply within five minutes.
Where to book
Available at all seven UK clinics.
Start here
Derby
DE23 6PZ · 07533 030599
Visit clinic page
Wembley
HA9 8AF
Paddington
W2 1JQ
Slough
SL1 4XP
Reading
RG30 1AD
Southall
UB1 1NF
Hounslow
TW5 0BY
Often considered alongside
Related treatments.
First to consider
IV Vitamin Therapy
IV vitamin therapy at CoLaz delivers a tailored blend of vitamins, minerals and antioxidants directly into the bloodstream for fast, efficient absorption that bypasses the digestive tract.
Wellness and IV
Wellness and IV
Vitamin Injections
Vitamin injections at CoLaz deliver a single targeted nutrient straight into the muscle for fast, reliable absorption.
Skin rejuvenation
Mesotherapy
Mesotherapy at CoLaz delivers a tailored cocktail of vitamins, minerals, amino acids and brightening agents into the mesoderm, the mid-layer of the skin, through fine micro-injections.
Skin rejuvenation
PRP Face
PRP at CoLaz uses your own blood to regenerate your skin.
Begin
Book a free consultation,
without obligation.
Tell us what you would like to change. Your clinician will recommend a plan, confirm the price in writing, and leave the booking to you.
Book a free consultation →